3/24/13
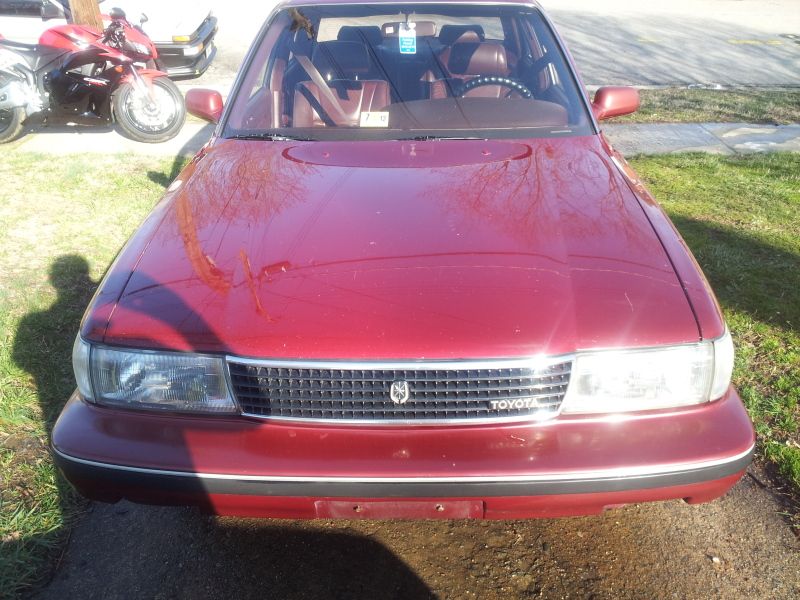
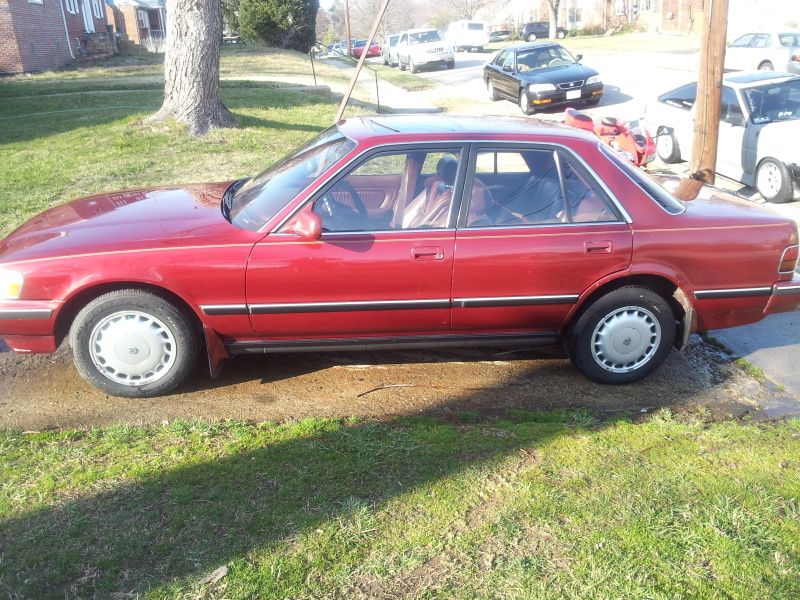
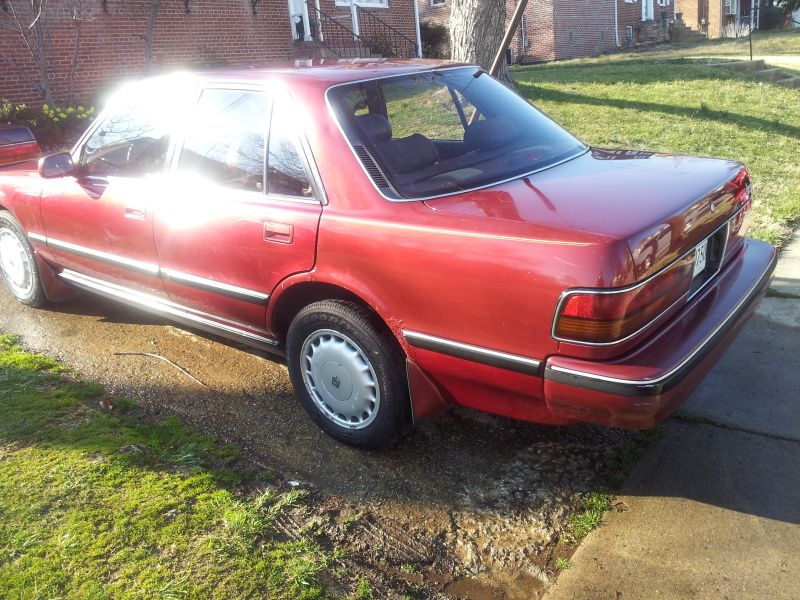
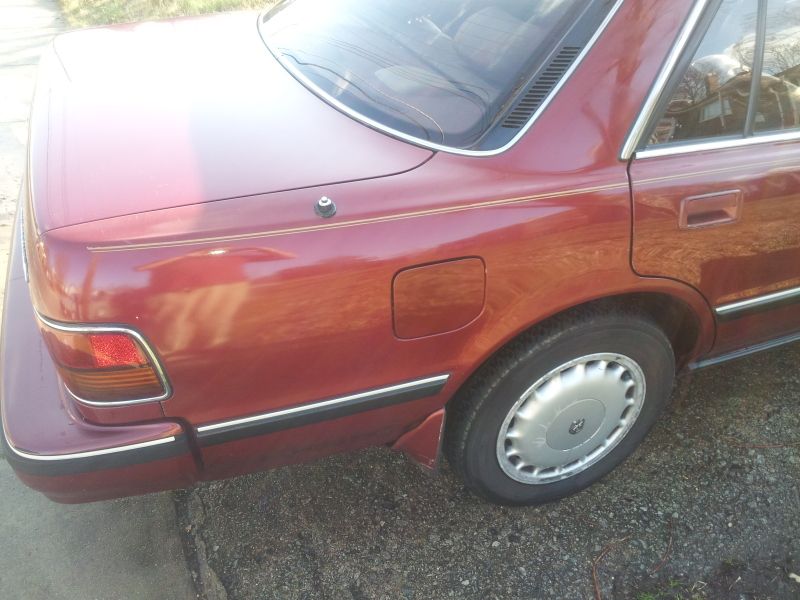
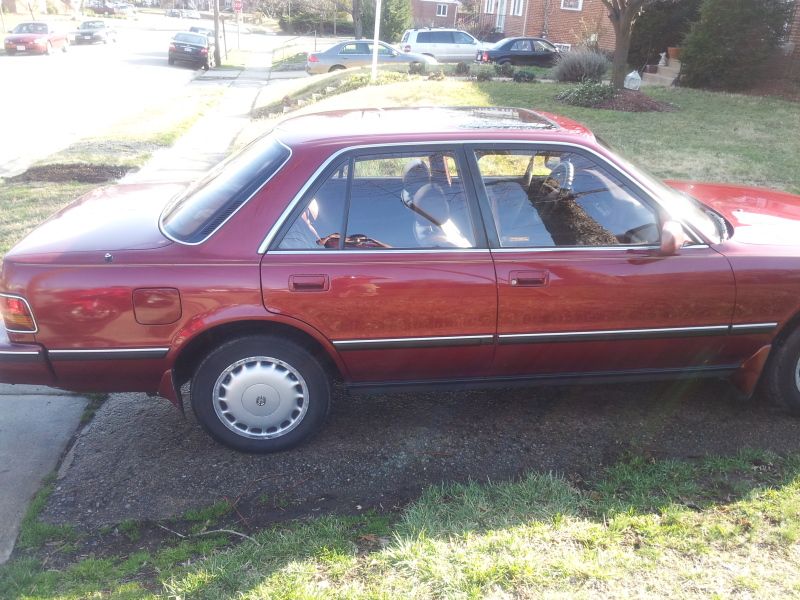
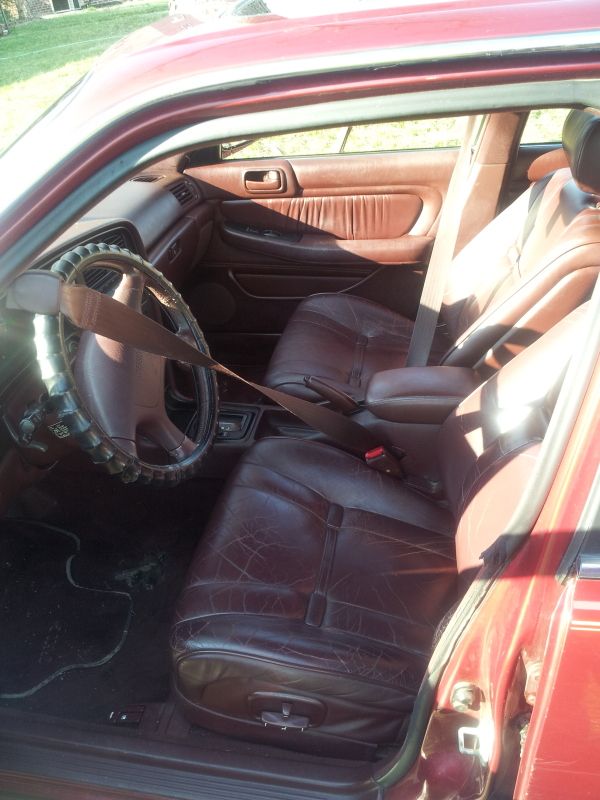
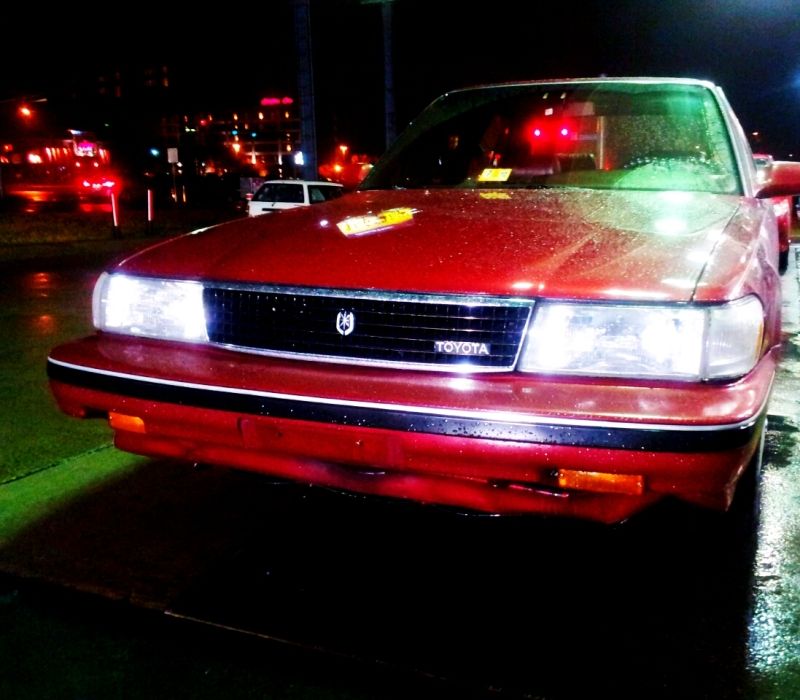
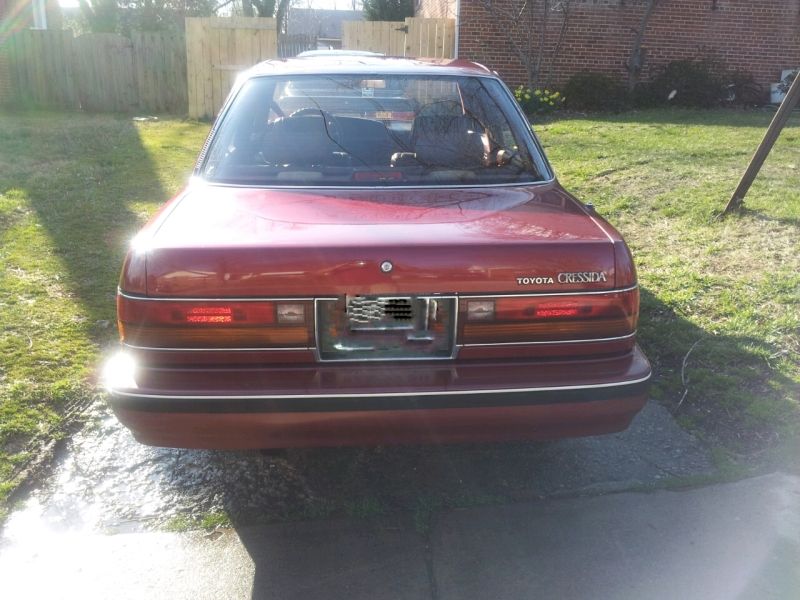
I bought this pretty thing today. It has a blown head gasket, the radio is broken, and the AC needs to be recharged, but supposedly everything else on the car works fine. It has around 193k miles. I plan on fixing the head gasket and either using it as a daily driver or selling it.
Here are the pictures from the VADriven thread


5/11/13
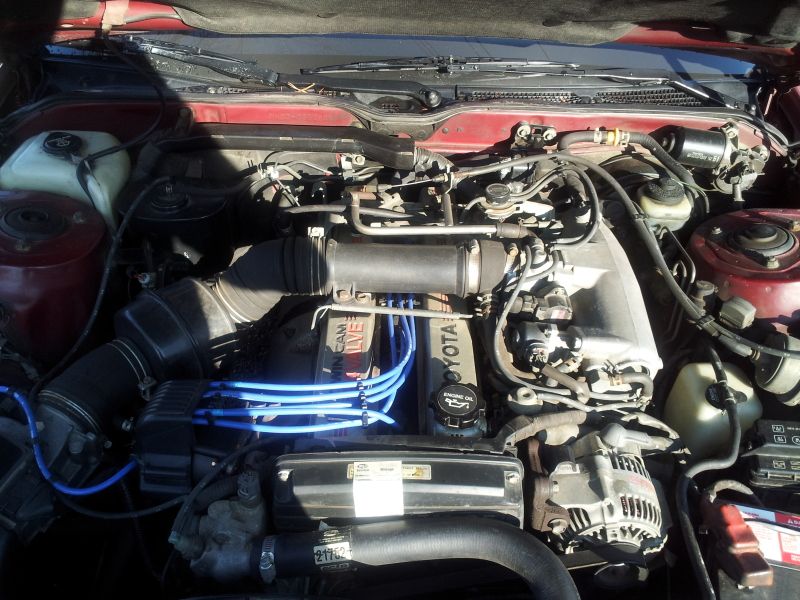
Finally broke ground on this project and got my hands dirty today. I'll have pictures up tomorrow, but basically all of the wiring harness up to the fuel injectors is disconnected, the intake piping is off, radiator is out (to make access easier, also I think the radiator may be cracked), accessory belts are off, lots of little things removed/disconnected (PCV system which is hella nasty, will be cleaned before reinstall, the super-convoluted throttle linkages, battery, lots of vacuum lines, etc). Intake manifold plenum is only held on with one bolt right now, then that can come off and I can have access to the fuel rail/injectors. I also sprayed the exhaust heat shield nuts with PB and that will come off tomorrow as well, then I'll hit the manifold bolts with PB multiple times for multiple days before even attempting to remove them.
5/12/13
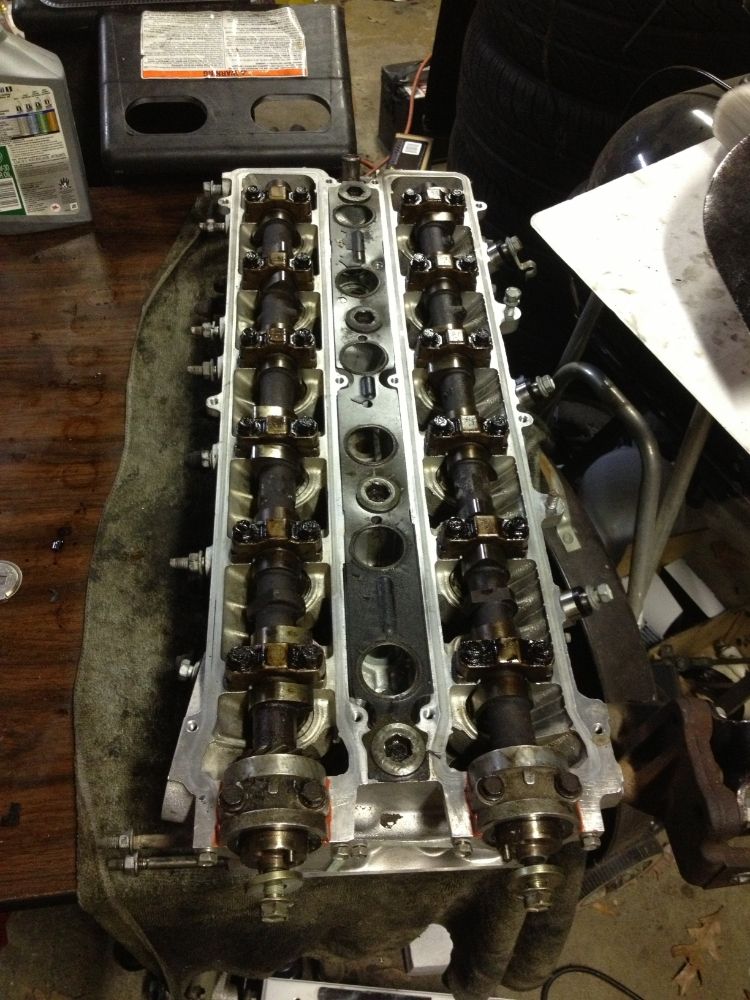
Also got a bunch done today with Corey's help. The head is now off.
Cracked radiator. New one off Rock Auto is like $100


Ordered a radiator, valve cover bolts/sealing
washers, and fuel injector o-rings. I'm gonna go by Toyota tomorrow and
order the few other gaskets I need, then we should be good to go in
terms of parts. Then I just gotta take the head into the machine shop
tomorrow or Tuesday.
Spent so far:
Head gasket/intake manifold gasket/exhaust manifold gasket - $210
Fuel injector o-rings - $11
Radiator - $115
Valve cover bolts (to replace retarded philips head screws) with sealing washers - $21
Total spent : $357
Expenses to come:
Machine shop labor for milling the head
Parts -
Crush washers (should be cents each):
upper filter - fuel line
upper fuel line - fuel rail
cold start injector fuel line
front fuel line - fuel rail
lower water outlet fitting
Gaskets (hopefully only a couple bucks each):
water outlet housing - head
lower intake manifold - upper intake manifold
throttle body - intake manifold
Idle speed control valve - intake manifold
EGR - head
EGR - intake manifold
Hoses: (ventilation hose will be kinda pricy, but it's pre-formed and a weird size):
ventilation - 12263-42010
a metric ass ton of small screw-on type hose clamps to replace the god-awful pinchy types
5/13/13
7M head fits in my trunk. Nice.
5/14/13
Previous total: $357
Plus all the above listed gaskets/seals/o-rings (plus VC and cam gaskets): $177
Fel-Pro valve stem seals from Amazon: $37
New total: $571
5/16/13
Radiator + crap ton of Toyota gaskets

5/28/13
Head is back from the machine shop.
New total is $650
5/28/13
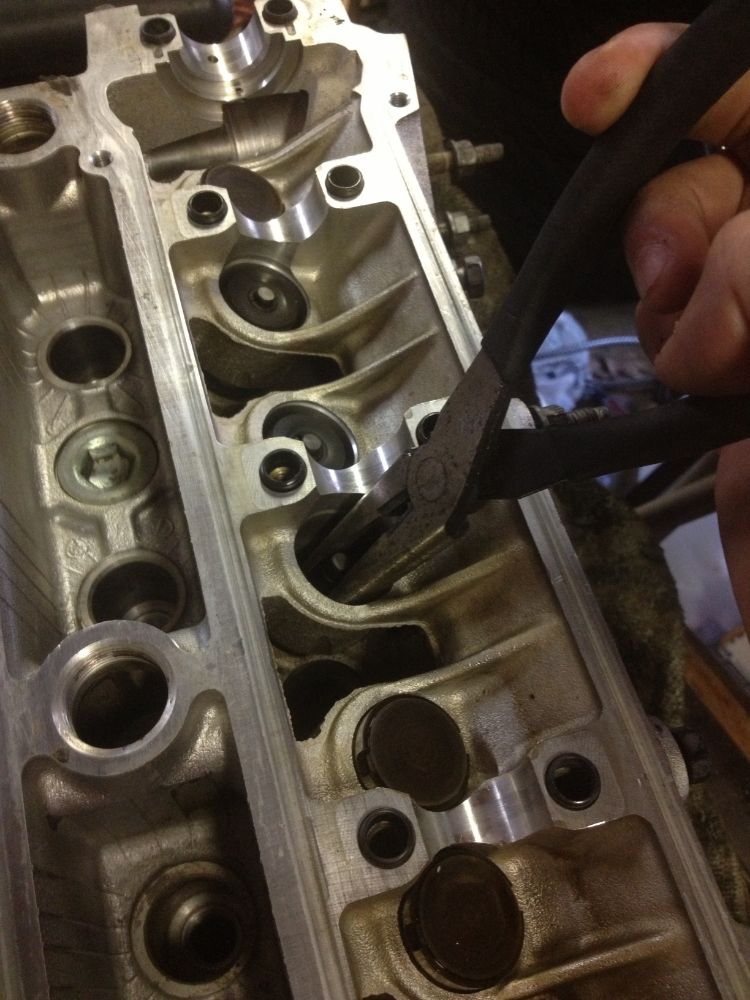
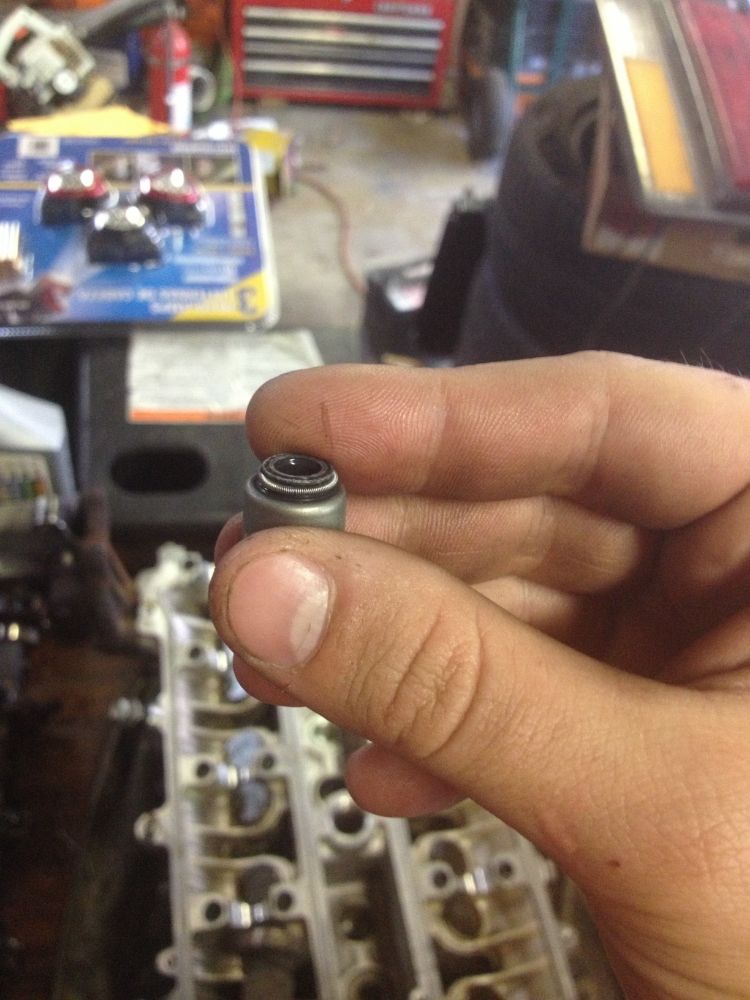
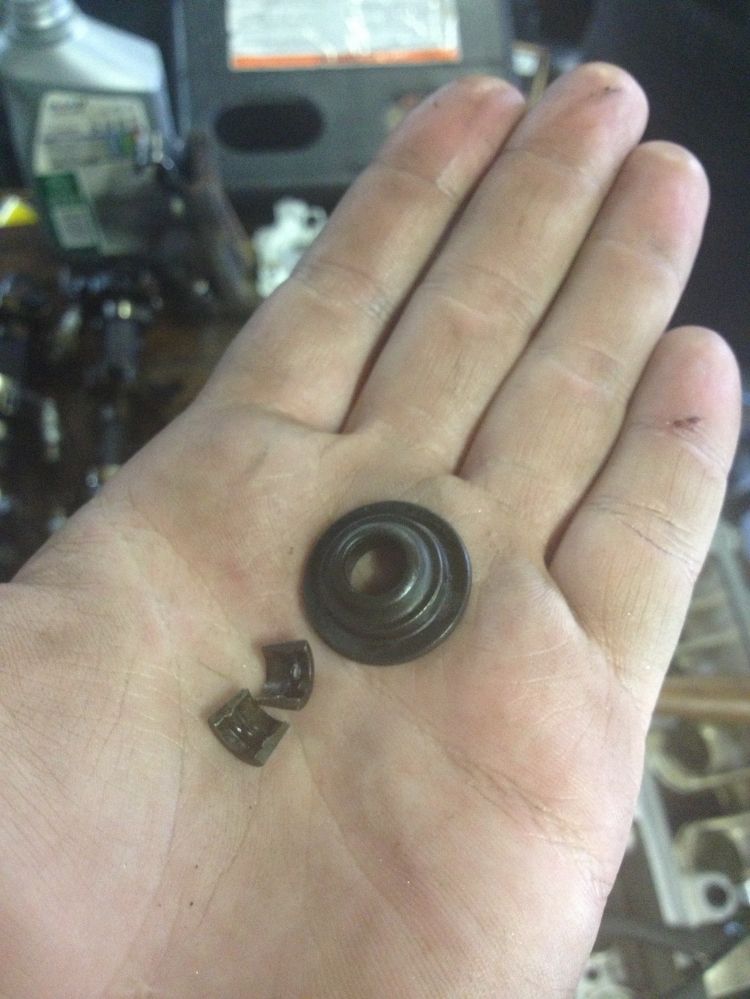
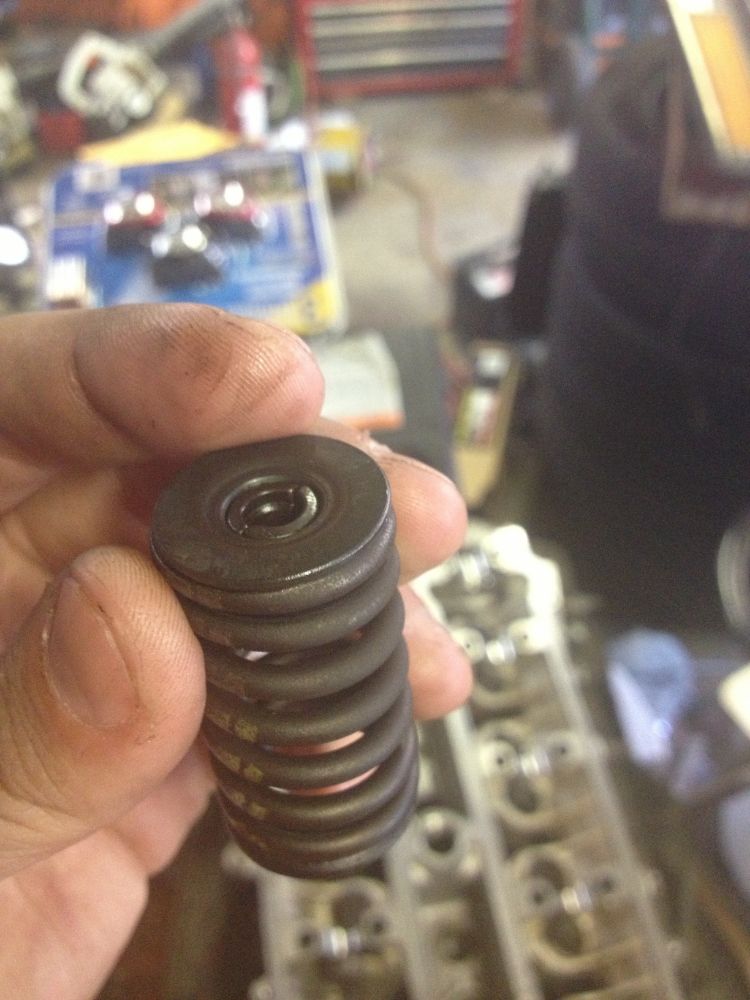
Also started replacing the valve stem seals tonight. The tool for removing the valve spring retainers was too big so I had to grind it down a bunch, but now it works. I got 13/24 done before I came in and cleaned up, since I have to work early tomorrow.

5/30/13
Got some work done tonight. I picked up my torque wrench and a tube of RTV from the Ju house and grabbed some new spark plugs from Advance.
Spark plugs: $22
Also ordered a distributor o-ring and the lower injector o-rings from Lithia Toyota (I got the upper injector o-rings on accident previously) :$28
New total spent:
$700
I lost one of the head bolt washers too, so I'll be picking that up form Toyota tomorrow.
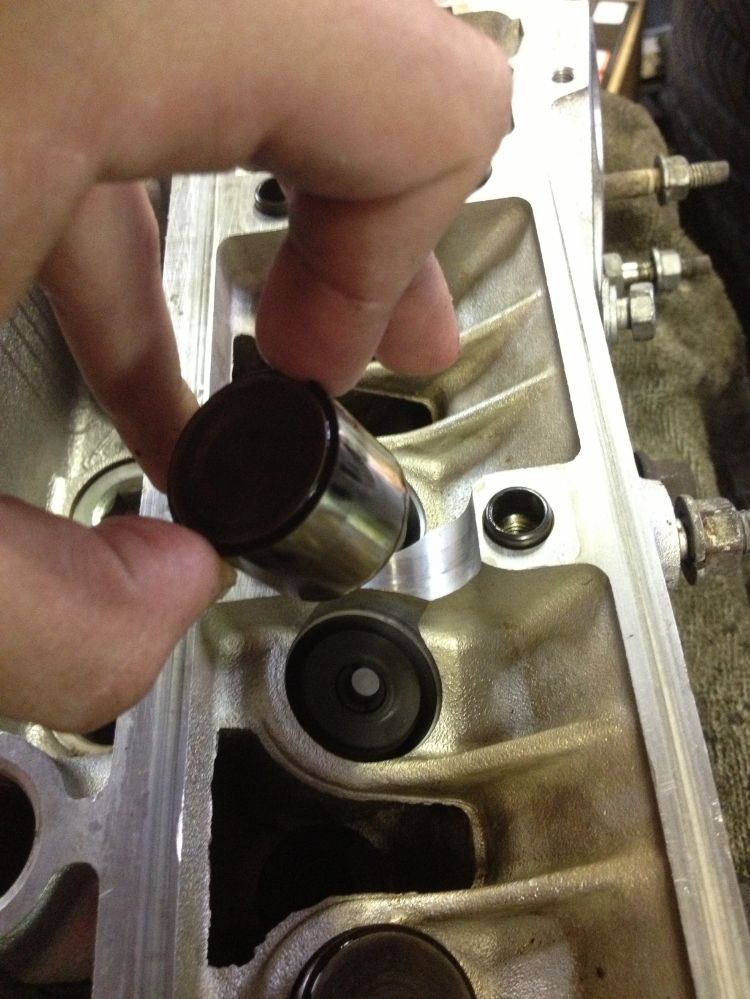
Here's how I did the valvetrain stuff
First you remove the lifter buckets (making sure to keep them in order or God help you)
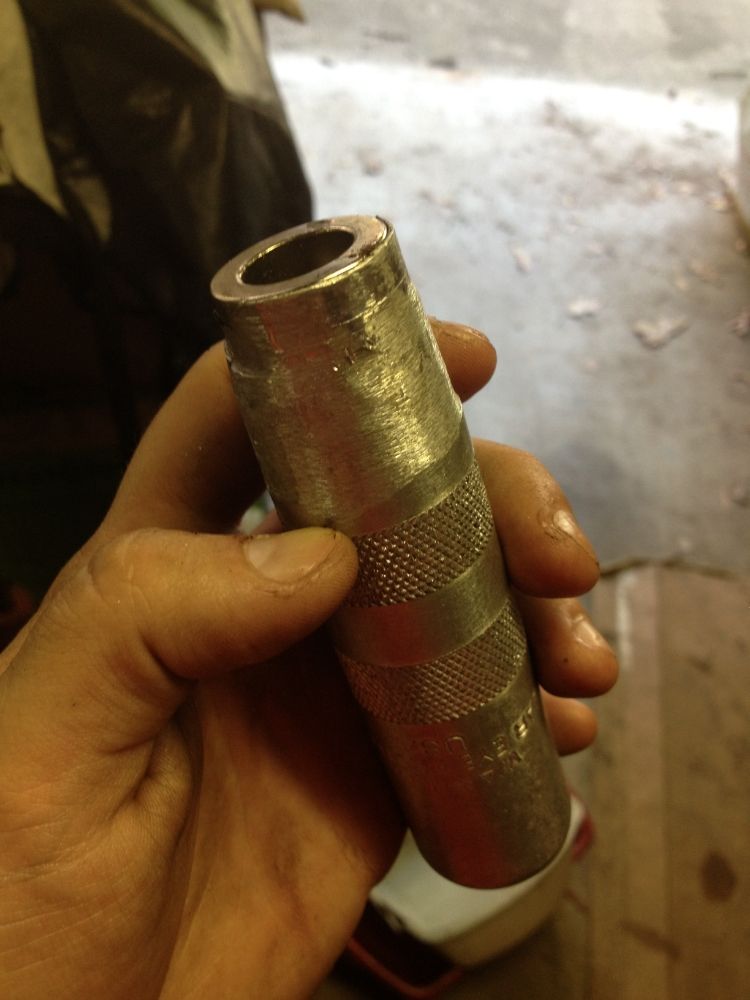


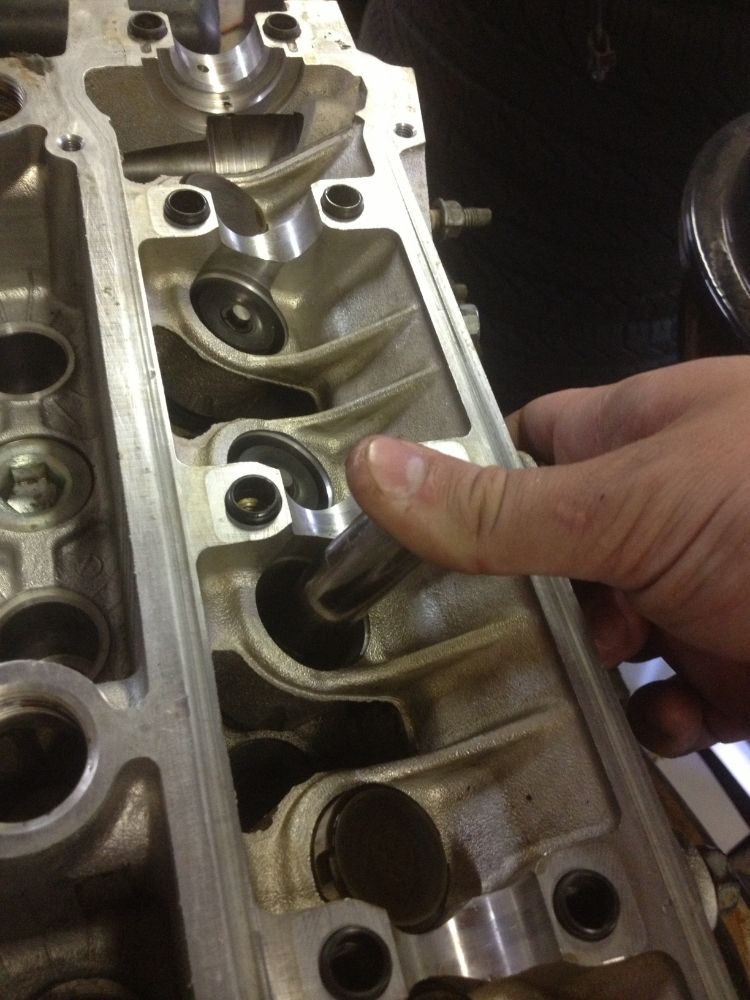
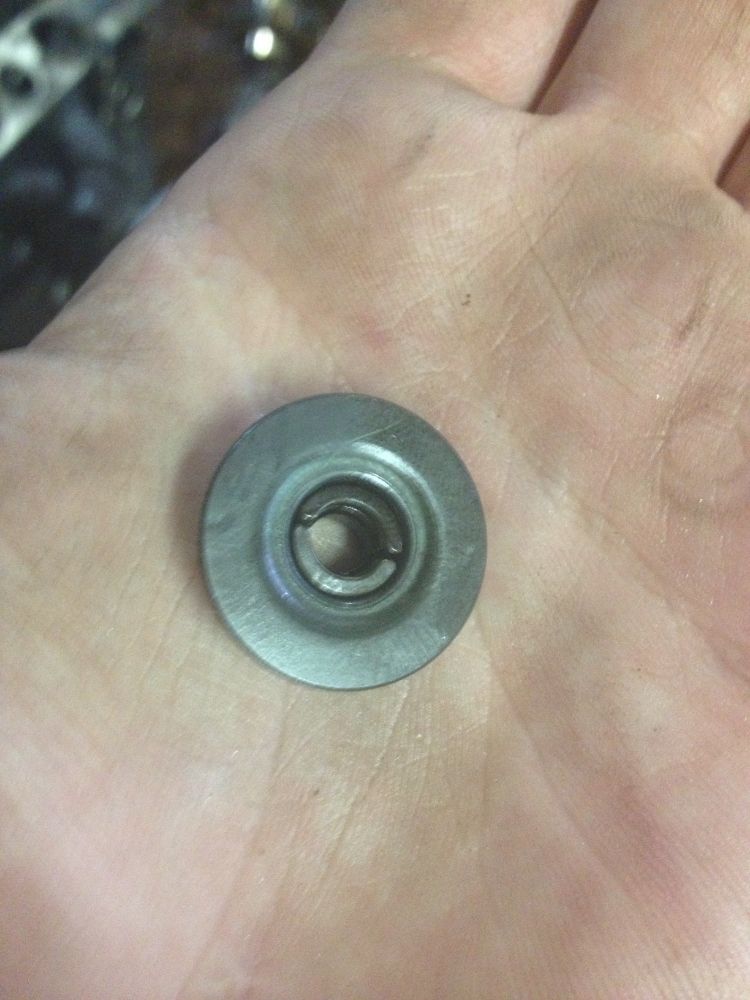
This is the keeper installer tool. The little nub in the middle is spring-loaded, so when you press down, the outer ring compresses the spring over the stationary valve, and the middle nub makes the valve keepers fall into place around the valve stem


No comments:
Post a Comment